

How to Photograph the Milky Way: A Step-by-Step Guide
Photographing the Milky Way - one of the most awe-inspiring and rewarding experiences
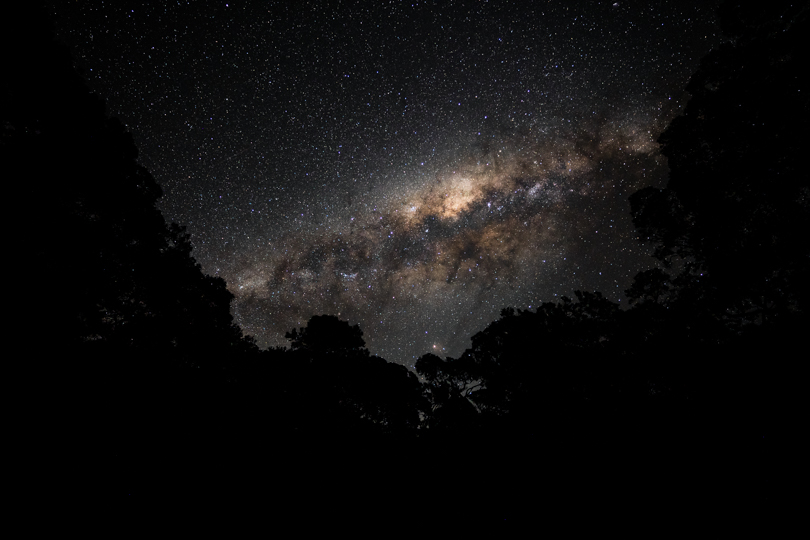
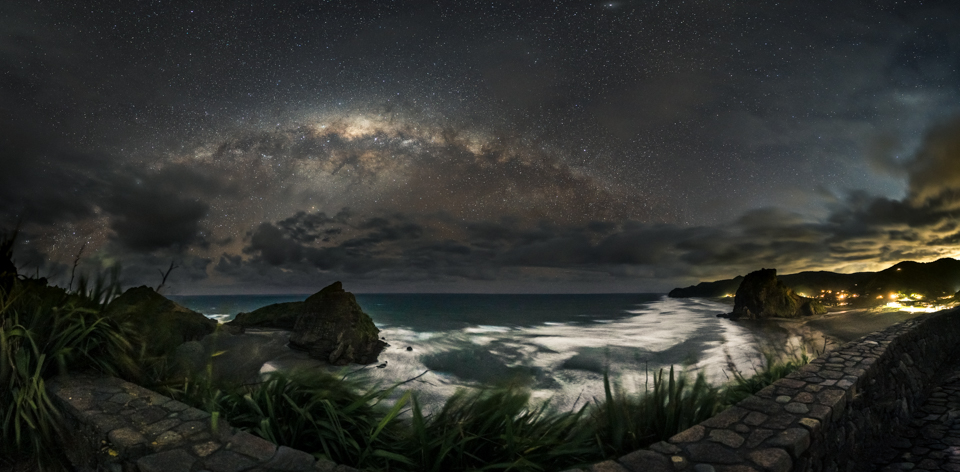
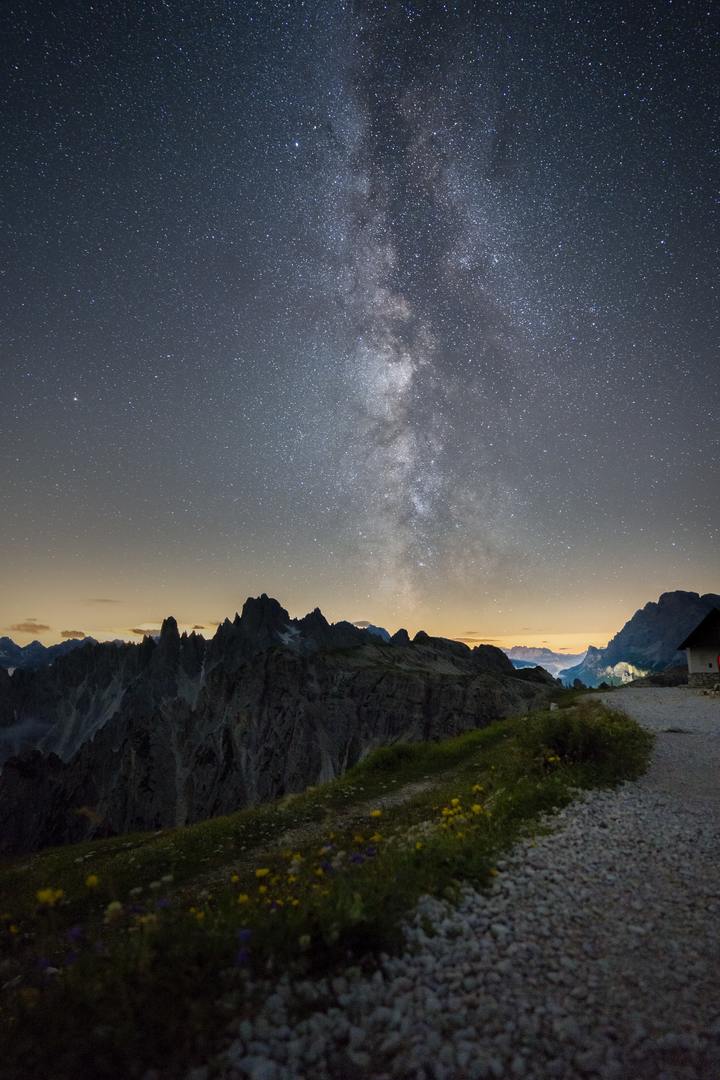
Photographing the Milky Way is one of the most awe-inspiring and rewarding experiences a photographer can have. There's something magical about capturing the endless stretch of stars and the glowing core of our galaxy. What may seem like a daunting challenge to beginners is actually quite achievable with the right preparation, equipment, and a bit of patience. Whether you're a seasoned photographer looking to dive into astrophotography or a beginner eager to try capturing the night sky, photographing the Milky Way can be a thrilling journey.
In this comprehensive guide, I will break down every step needed to photograph the Milky Way, from choosing the right equipment and finding the perfect location to dialing in camera settings and basic post-processing techniques. With the right approach, you’ll be able to create stunning images that showcase the breathtaking beauty of our galaxy. Let’s dive in!


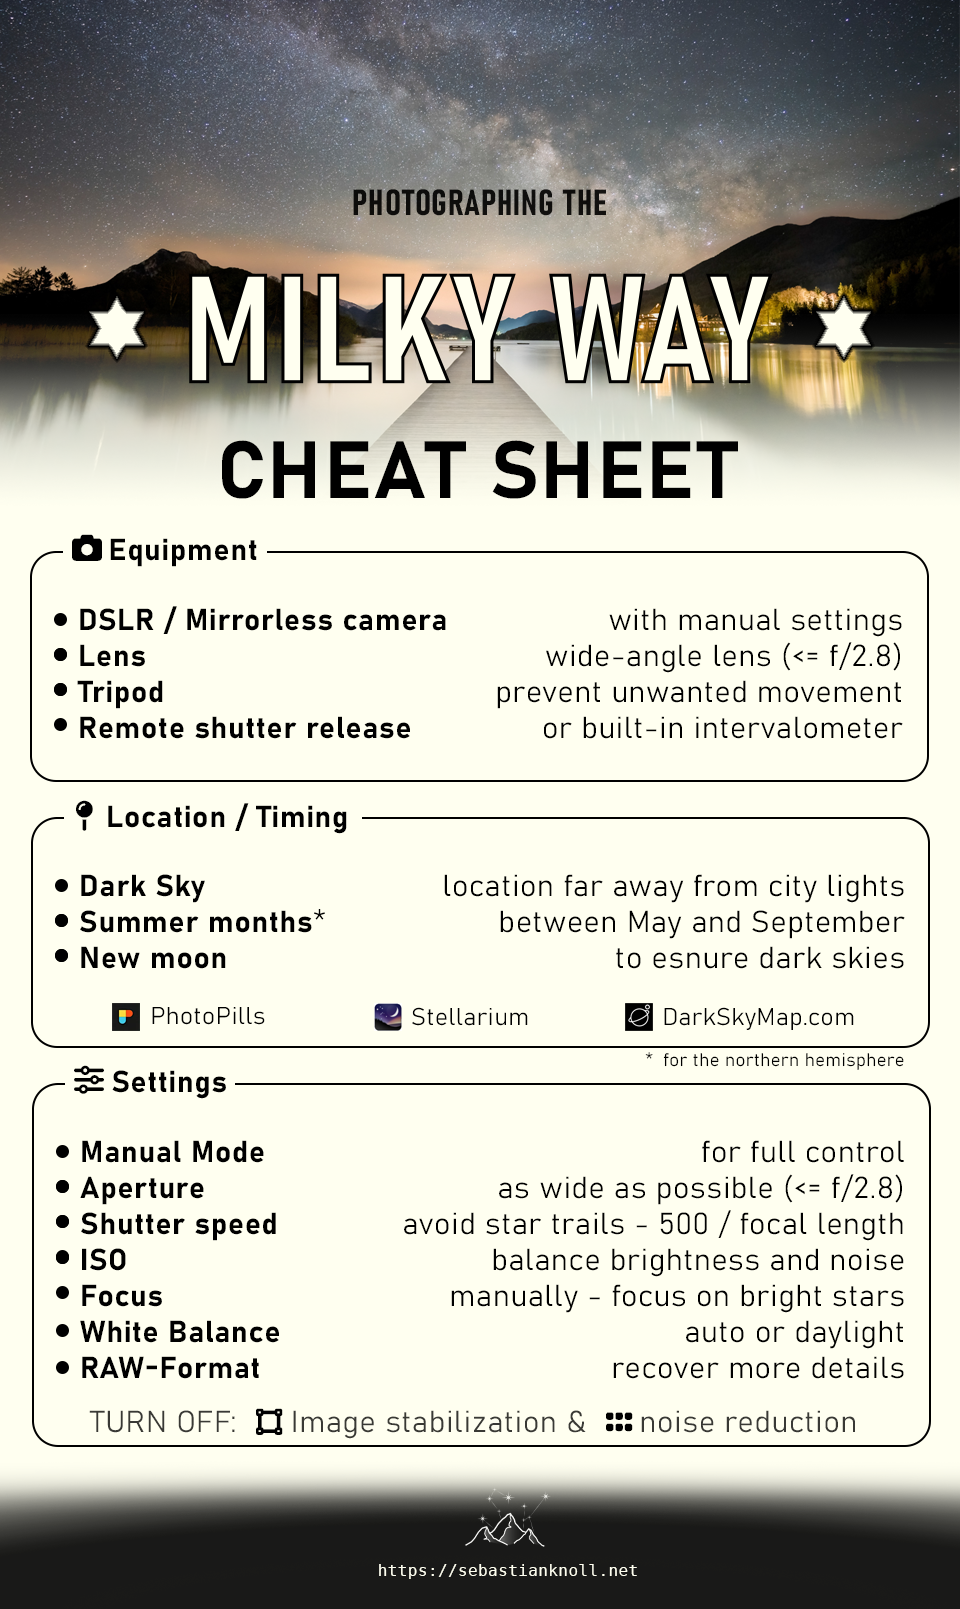
Cheat Sheet
If you're in a hurry or just need a quick refresher, use my cheat sheet to remind you of the most important steps. You can click on the image to enlarge it for better visibility. For more details, check out the next sections below.
1. Camera Equipment for Milky Way Photography
To photograph the Milky Way successfully, it's essential to use the right camera gear. Here's what you'll need and why full-frame cameras are often recommended:
Camera
A DSLR or mirrorless camera with manual settings is essential. These cameras allow full control over exposure, aperture, and focus, which is necessary for low-light astrophotography. Cameras with good low-light performance and a large sensor (full-frame preferred) will deliver better results.
Advantages of a full-frame camera
- Larger Sensor: Full-frame cameras have larger sensors compared to APS-C or micro four-thirds cameras. This allows more light to hit the sensor, which is crucial for night photography.
- Better Low-Light Performance: Full-frame sensors handle higher ISO settings with less noise, meaning your Milky Way shots will be cleaner, even at high ISO values like 3200 or 6400.
- Wider Field of View: A full-frame sensor allows you to take full advantage of wide-angle lenses, which helps capture more of the sky and landscape. In comparison, crop sensors narrow your field of view, requiring shorter focal lengths to achieve the same composition.
- More Dynamic Range: Full-frame cameras generally offer better dynamic range, allowing you to capture more detail in the darker areas (like the night sky) and prevent highlights from blowing out.

Because of the larger sensor size of a full-frame camera compared to an APS-C camera, the sensor collects more light
Better Low-Light Performance due to collecting more light per pixel
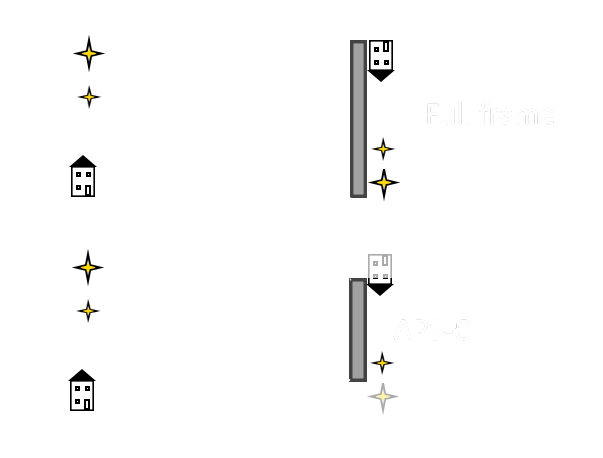
Broader field of view due to the larger sensor in a full-frame camera.
However, it's important to note that lenses designed for full-frame cameras are often larger and more expensive, which can impact your overall investment in equipment.
Megapixels
When it comes to astrophotography, the number of megapixels in your camera can play a significant role in the quality of your images, but it's essential to understand what megapixels really mean and how they affect your photos.
A megapixel (MP) is a unit of measurement for digital image resolution, equivalent to one million pixels. For example, a camera with a resolution of 24 megapixels produces images with approximately 24 million pixels. Higher megapixel counts can result in more resolution and detail in the image, as well as the possibility to crop the image, while still having enough details.
- Detail Preservation: A higher megapixel count allows you to capture more detail in your images, making it easier to zoom in or crop without losing significant quality. This is particularly useful for astrophotographers who want to highlight specific features in the night sky.
- Large Prints: If you plan to print your astrophotography work at larger sizes, a camera with more megapixels will enable you to produce high-quality prints without pixelation. For instance, a 24 MP image can be printed at a larger size with good detail, whereas a 12 MP image may not hold up as well.
- Post-Processing Flexibility: In astrophotography, post-processing is crucial. Higher resolution images give you more latitude to adjust composition, brightness, contrast, and other aspects in post-processing without degrading the image quality.
- Noise Considerations: However, it’s important to note that increasing the megapixel count can sometimes lead to increased noise, particularly in low-light situations. Smaller pixels on high-megapixel sensors can become overwhelmed with light, resulting in grainier images. This is a common challenge in astrophotography, where capturing faint details in the night sky often requires higher ISO settings, which can further exacerbate noise levels.
In summary, finding a good balance between sensor size and megapixel count is essential for achieving high-quality astrophotography, as it ensures detailed images while maintaining excellent low-light performance and minimizing noise.
Often used Cameras
-
Sony A7III or A7IV (full-frame)Excellent low-light performance and dynamic range, perfect for night photography.
-
Canon EOS R6 (full-frame)High ISO capabilities with minimal noise, great for capturing faint details of the Milky Way.
-
Nikon Z6II (full-frame)Exceptional low-light handling, combined with great build quality for outdoor shoots.
-
Fujifilm X-T4 (APS-C)If you prefer a crop sensor camera, this one offers great performance in low-light, though you’ll need to account for the crop factor.
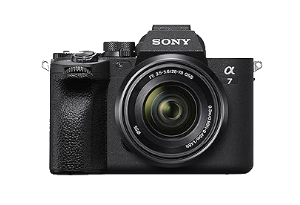
Sony A7 IV
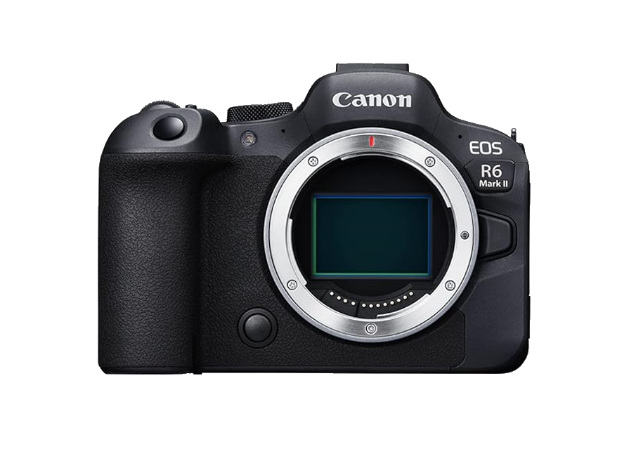
Canon EOS R6

Nikon Z6 II
Lens
Definetely go for a wide-angle lens. A lens in the 14-24mm range will help you capture a broad portion of the sky, essential for showcasing the grandeur of the Milky Way. Opt for a fast aperture lens (f/2.8 or lower) to let in as much light as possible, which is crucial for night photography. The wider aperture ensures better light-gathering capabilities, minimizing the need for longer exposure times and reducing the risk of star trails.
Example Lenses
- Rokinon 14mm f/2.8: A budget-friendly, manual-focus lens that offers excellent sharpness and wide-angle coverage, perfect for Milky Way shots.
- Sigma 14mm f/1.8 Art: This lens has an exceptionally fast f/1.8 aperture, allowing even more light to be captured, making it a fantastic choice for low-light conditions.
- Nikon AF-S 14-24mm f/2.8G: A premium zoom lens that delivers high sharpness and performance across the focal range, great for versatile wide-angle astrophotography.
- Sony FE 16-35mm f/2.8 GM: If you're shooting with a Sony mirrorless system, this high-quality lens provides excellent sharpness and wide coverage for the Milky Way.
Crop Sensor Cameras: These cameras have a crop factor (typically around 1.5x for APS-C sensors). To determine the effective focal length, multiply the lens focal length by the crop factor. For instance, a 14mm lens on a crop sensor camera would give an effective focal length of about 21mm (14mm x 1.5), which narrows the field of view compared to a full-frame camera. This means you may need to use wider lenses or adjust your composition to capture the same amount of sky.
Tripod
- Why It’s Important: Long exposure times (typically 13-30 seconds) make it essential to keep your camera completely still. A tripod prevents any unwanted movement, ensuring your stars stay sharp.
- Cheap vs. Expensive Tripods: While cheap tripods may seem like a cost-effective solution, they often struggle with stability, especially in windy conditions or on uneven terrain. Cheaper models are also prone to vibrations, which can blur your shots. Investing in a more expensive, sturdy tripod is worth it, particularly if you're serious about astrophotography. High-quality tripods provide better stability, durability, and longevity.
- Lightweight Tripods for Travel: If you’re hiking or traveling, a lightweight but durable tripod is invaluable. Brands like Gitzo, Manfrotto, or Peak Design offer carbon fiber tripods that are easy to carry but still provide the necessary stability for long-exposure night photography. These are ideal for capturing the Milky Way in remote locations where portability matters.
Remote Shutter Release, Timer, or Intervalometer
- Prevent Camera Shake: Pressing the shutter manually can cause slight vibrations that blur long-exposure shots. Using a remote shutter release or the camera's built-in timer ensures the camera stays completely still when the exposure starts.
- Built-in Intervalometer: Some cameras come with an internal intervalometer, which allows you to take repeated long exposures without needing an external remote. This feature is especially useful for creating time-lapse sequences of the night sky or capturing multiple exposures without manually triggering each shot.
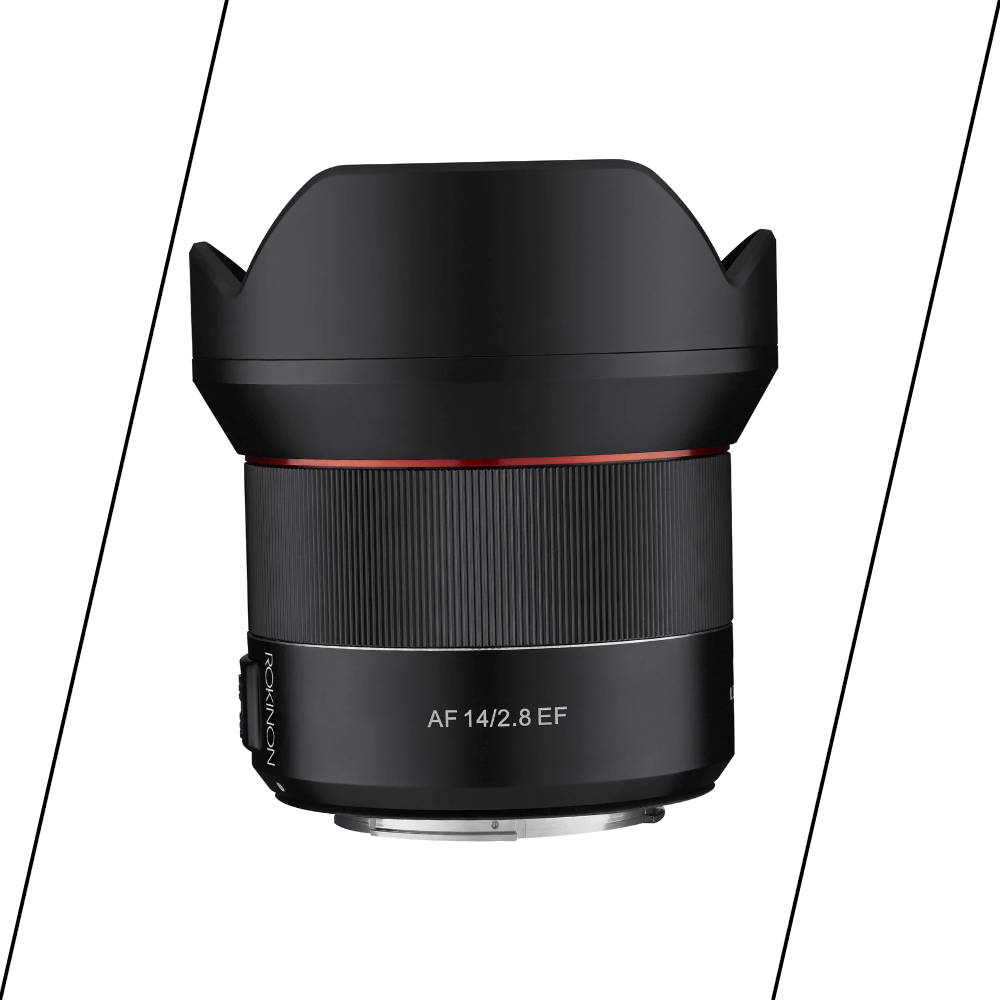
The Rokinon 14mm f/2.8 lens, also known as Samyang.

Intervalometer - Various adapters for different cameras are available.

Breno - Tripod
Choosing the right camera, lens, and tripod is essential for capturing the Milky Way at its best. A full-frame camera offers significant advantages in low-light performance and dynamic range, while a stable, lightweight tripod ensures your shots remain sharp during long exposures. Whether you use a remote shutter release, timer, or your camera’s built-in intervalometer, minimizing camera shake will make all the difference in your final image quality.
2. Location: Finding the Perfect Spot
One of the most important factors in Milky Way photography is your location. The clearer and darker the sky, the better your photos will turn out. So, make sure that:
- Dark Sky: You’ll need a location far away from city lights, as light pollution washes out the stars and the Milky Way. Use apps like Light Pollution Map or Dark Sky Map to locate the best spots near you.
- Timing: The Milky Way is most visible in the northern hemisphere during the summer months, typically between May and September. In the northern hemisphere, the Milky Way is visible towards the south. Research the best time for your area using apps like Stellarium or PhotoPills to pinpoint the Milky Way’s position in the sky. In the southern hemisphere, the Milky Way is visible for a longer period, from February to October, and appears much higher in the sky.
- Moon Phase: A bright moon can (and will) overshadow the Milky Way, so aim to shoot during a new moon or when the moon is below the horizon. Even a half or quarter moon can make it harder to capture the faint details of the galaxy.
It is also important that there is no light pollution in the direction you are photographing. To achieve the best results, try to avoid any cities or bright lights in that direction, as they can significantly affect the clarity and detail of the Milky Way, making it difficult to capture its beauty.

Dark Sky Map of Austria: A stark contrast between highly light-polluted areas like Vienna and Graz, and rural regions with significantly less light pollution, ideal for stargazing and Milky Way photography.

View from the mountains above Villach: While the area boasts low light pollution, the bright light pollution over Villach poses a challenge for capturing the Milky Way in this direction, potentially compromising image quality.
Using the PhotoPills app in augmented reality mode to accurately pinpoint the core of the Milky Way, making it easier to plan your astrophotography sessions.
3. Camera Settings: How to Get the Perfect Exposure
Capturing the Milky Way involves balancing several key camera settings. Here’s a guideline to get started:
- Manual Mode: Always shoot in manual mode to have full control over the exposure.
- Aperture: Set your aperture as wide as possible (f/2.8 or lower). This allows the maximum amount of light into your camera sensor.
- Shutter Speed: To avoid star trails caused by the Earth’s rotation, follow the 500 Rule*.
- ISO: Start with an ISO of 1600 to 3200. Higher ISO values increase the camera’s sensitivity to light but may introduce noise. Adjust based on your camera’s performance, and take test shots to balance brightness and noise.
- Focus: Focus manually on a bright star or a distant light, and set your focus to infinity. Use your camera’s live view and zoom in digitally to ensure the stars are sharp.
- White Balance: Set the white balance to daylight (about 4000K to 5000K) or use auto white balance, which can be fine-tuned in post-processing.
- Turn Off Image Stabilization: Disabling image stabilization is crucial when photographing the night sky, as it prevents unnecessary movements that can cause blurry stars, ensuring sharper images of the Milky Way.
- Disable Noise Reduction: Turning off noise reduction is not only much faster because it eliminates the need for additional processing time after capturing each image, but it also helps avoid the 'star eater effect' where faint stars are mistakenly removed along with noise, allowing you to retain more details and achieve a more accurate representation of the night sky.
500 Rule: Divide 500 by the focal length of your lens (for full-frame cameras) to get the maximum exposure time in seconds. For example, if you're using a 20mm lens, 500 ÷ 20 = 25 seconds. If you're using a crop sensor, divide by the crop factor (e.g., for a 1.5x crop sensor, 500 ÷ (20 x 1.5) = 16.6 seconds)
4. Composition & Perfecting Your Shot
For a compelling image, you can try to:
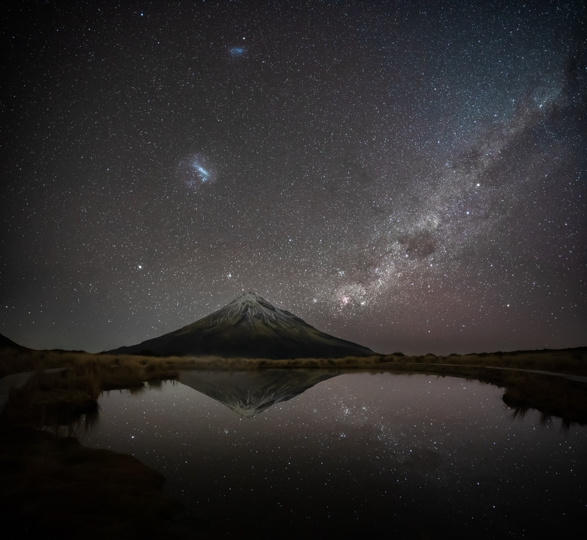
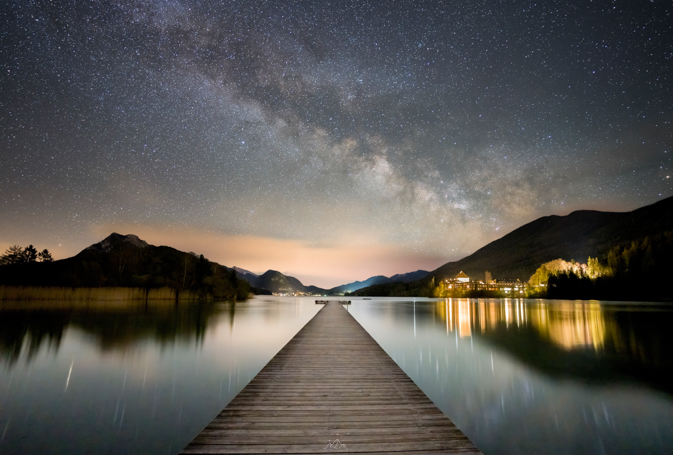
- Foreground Interest: Include some interesting foreground elements, such as mountains, trees, or a lake, to give your image depth and context. These elements can provide scale and make the photograph more engaging.
- Rule of Thirds: Use the rule of thirds to balance your composition. Position the Milky Way in the upper third of your frame, and include a striking foreground element in the lower third.
- Zoom In: After each shot, zoom in on the stars to ensure they’re sharp and not trailing. If you see trails, reduce your shutter speed.
- Check Exposure: If the image is too dark, raise the ISO or slightly increase the shutter speed (if the stars aren’t trailing). If it’s too bright, lower the ISO or shorten the exposure time.

Applying the Rule of Thirds for effective image composition: This illustration demonstrates how to use the bottom-most line to position the horizon. Moreover, intersection points can be used to position the core of the Milky Way, enhancing the balance and engagement of the photograph.
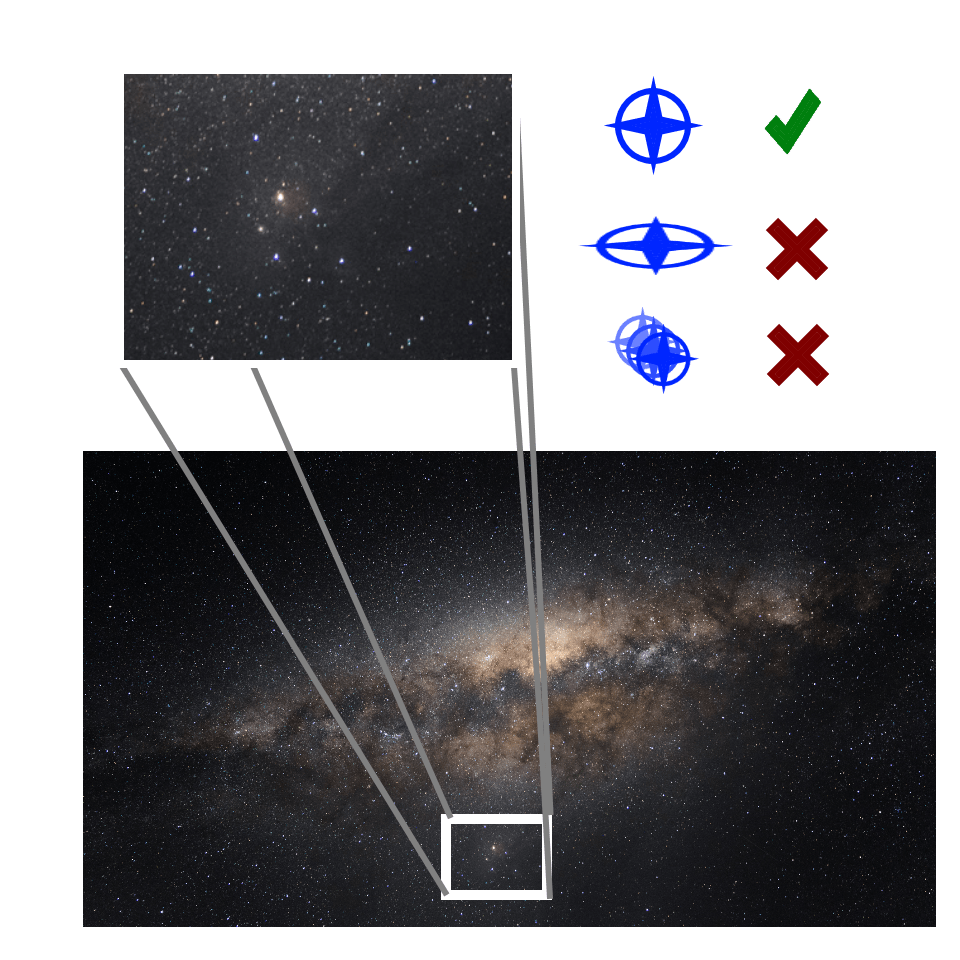
Zoom into the image to ensure that the stars appear round and sharp, confirming they don’t show trails or appear out of focus.
5. Post-Processing: Bringing the Milky Way to Life
After capturing your images, the final magic happens in post-processing. Here's how to make your Milky Way shots stand out:
- RAW Format: Shooting in RAW gives you much more flexibility when editing your images. You'll be able to recover more details from shadows and highlights.
- Lightroom/Photoshop: Use editing software like Adobe Lightroom or Photoshop to enhance your Milky Way photos. Increase the contrast to make the stars pop, reduce noise, and adjust the clarity and sharpness. You can also adjust the white balance if needed to bring out the natural colors of the sky.
- Noise Reduction: Since high ISO settings can introduce noise, use noise reduction tools carefully to maintain the fine details of the stars.
Final Thoughts
Photographing the Milky Way can be both challenging and incredibly satisfying. With the right planning, equipment, and a bit of patience, you’ll be able to capture stunning images of our galaxy. Remember, each shot offers an opportunity to improve, so experiment with your settings and composition until you get the perfect image. Good luck, and clear skies!
References - read more
Below, you will find a selection of references that provide valuable information and tips on how to photograph the Milky Way. These resources cover various aspects of astrophotography, from equipment recommendations and camera settings to composition techniques and post-processing advice.
- CAPTURE THE ATLAS - How to Photograph the Milky Way + 2024 viewing chart!
- PhotoPills - Milky Way Photography: The Definitive Guide (2024)
- Alyn Wallace - 5 Important checks before buying a lens for astrophotography
- PhotographyLife - How to photograph the Milky Way
- Adobe - Richte deine Kamera auf die Milchstraße
- Stephan Forstmann - Milchstraße fotografieren: Anleitung und Einstellungen + viele Tipps für tolle Fotos
- Pixolum - Milchstraße fotografieren – 13 Tipps und Anleitung
