
All you need...
How connect to the slider
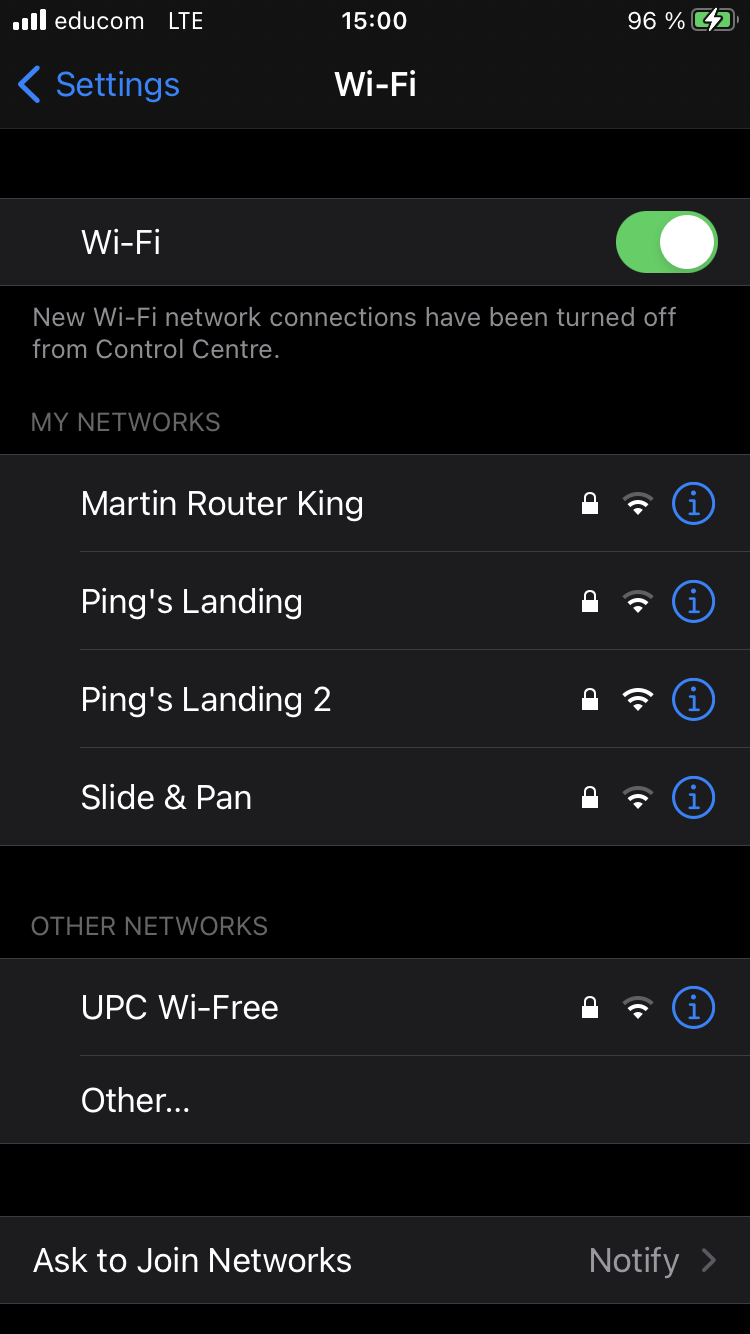
Switch on the Slider and wait until the start-up is finished (the LED's start-routine stopped and the Battery-/Status-LED is lighting / blinking).
Basic movement with the App

Once connected to the Slider and navigated to the webapp/webpage:
Set up a Timelapse with App
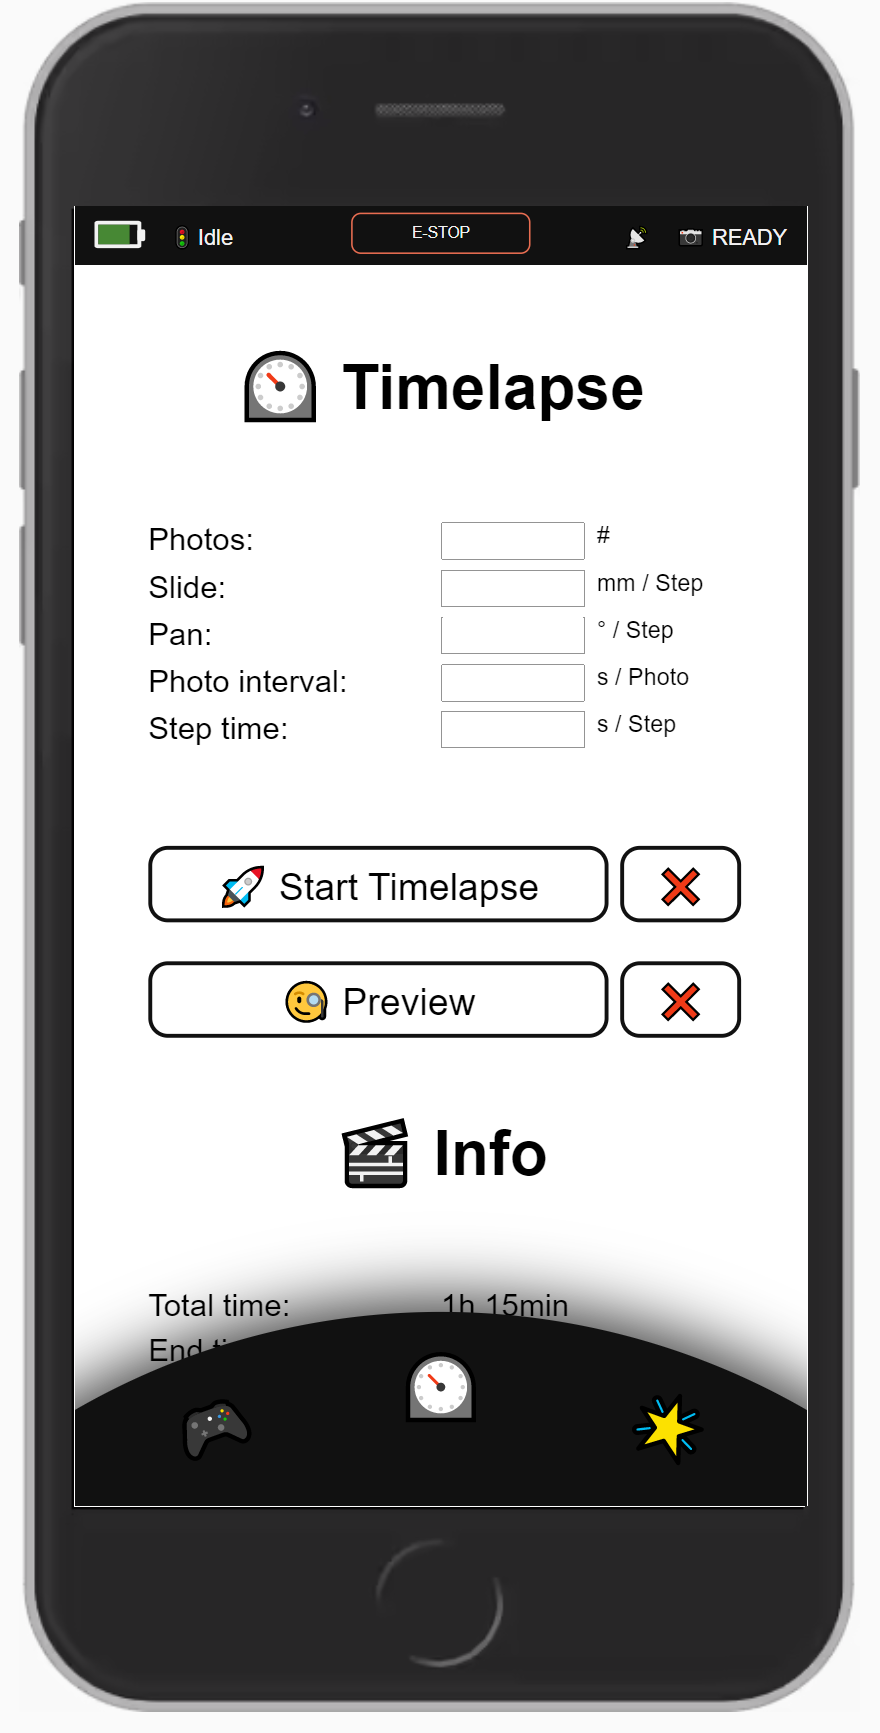
Once connected to the Slider and navigated to the webapp/webpage:
Set up a Milkyway-Timelapse with App

Once connected to the Slider and navigated to the webapp/webpage:
Set up a scene without App
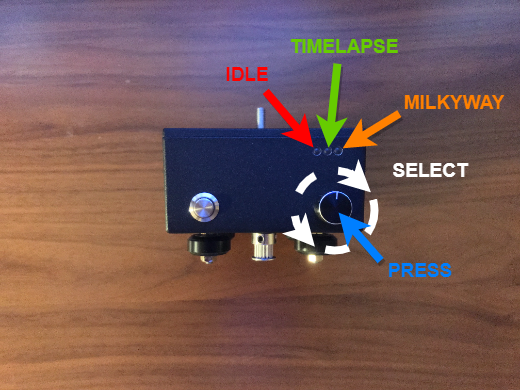
No connection to the Slider is needed to set up a Timelapse / Milkyway shot. Just:
What LED's indicate
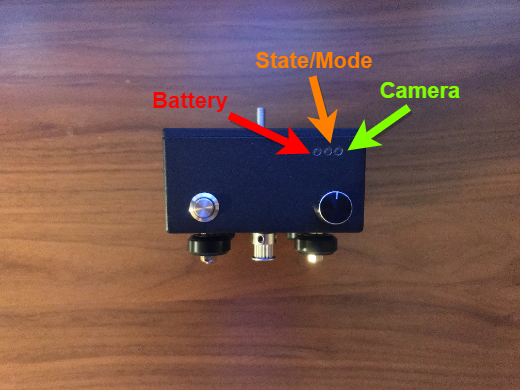
The state of the Slider is divided into the three LED's: